 I make these biscuits every Christmas now and they’re always very popular. The best part is that they are pretty simple to make, so they look very fancy but don’t actually take as long as you’d think! And they make nice presents.
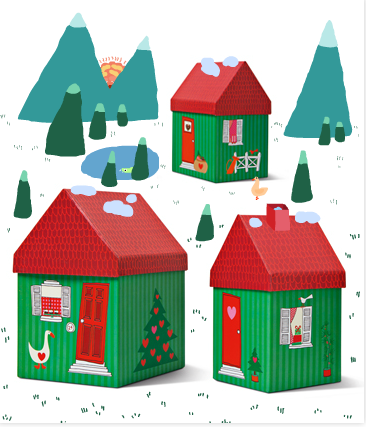
I give them away in cellophane bags (I found some cheap ones on Amazon) which you can decorate a bit with gold or silver (or any colour of) permanent marker. This year I also found some really cute little boxes that look like houses in a chain of shops called ‘Tiger’ (they’re Scandinavian and awesome, plus quite cheap and you’ll always find something interesting there. The Glasgow store is on Sauchiehall Street.)
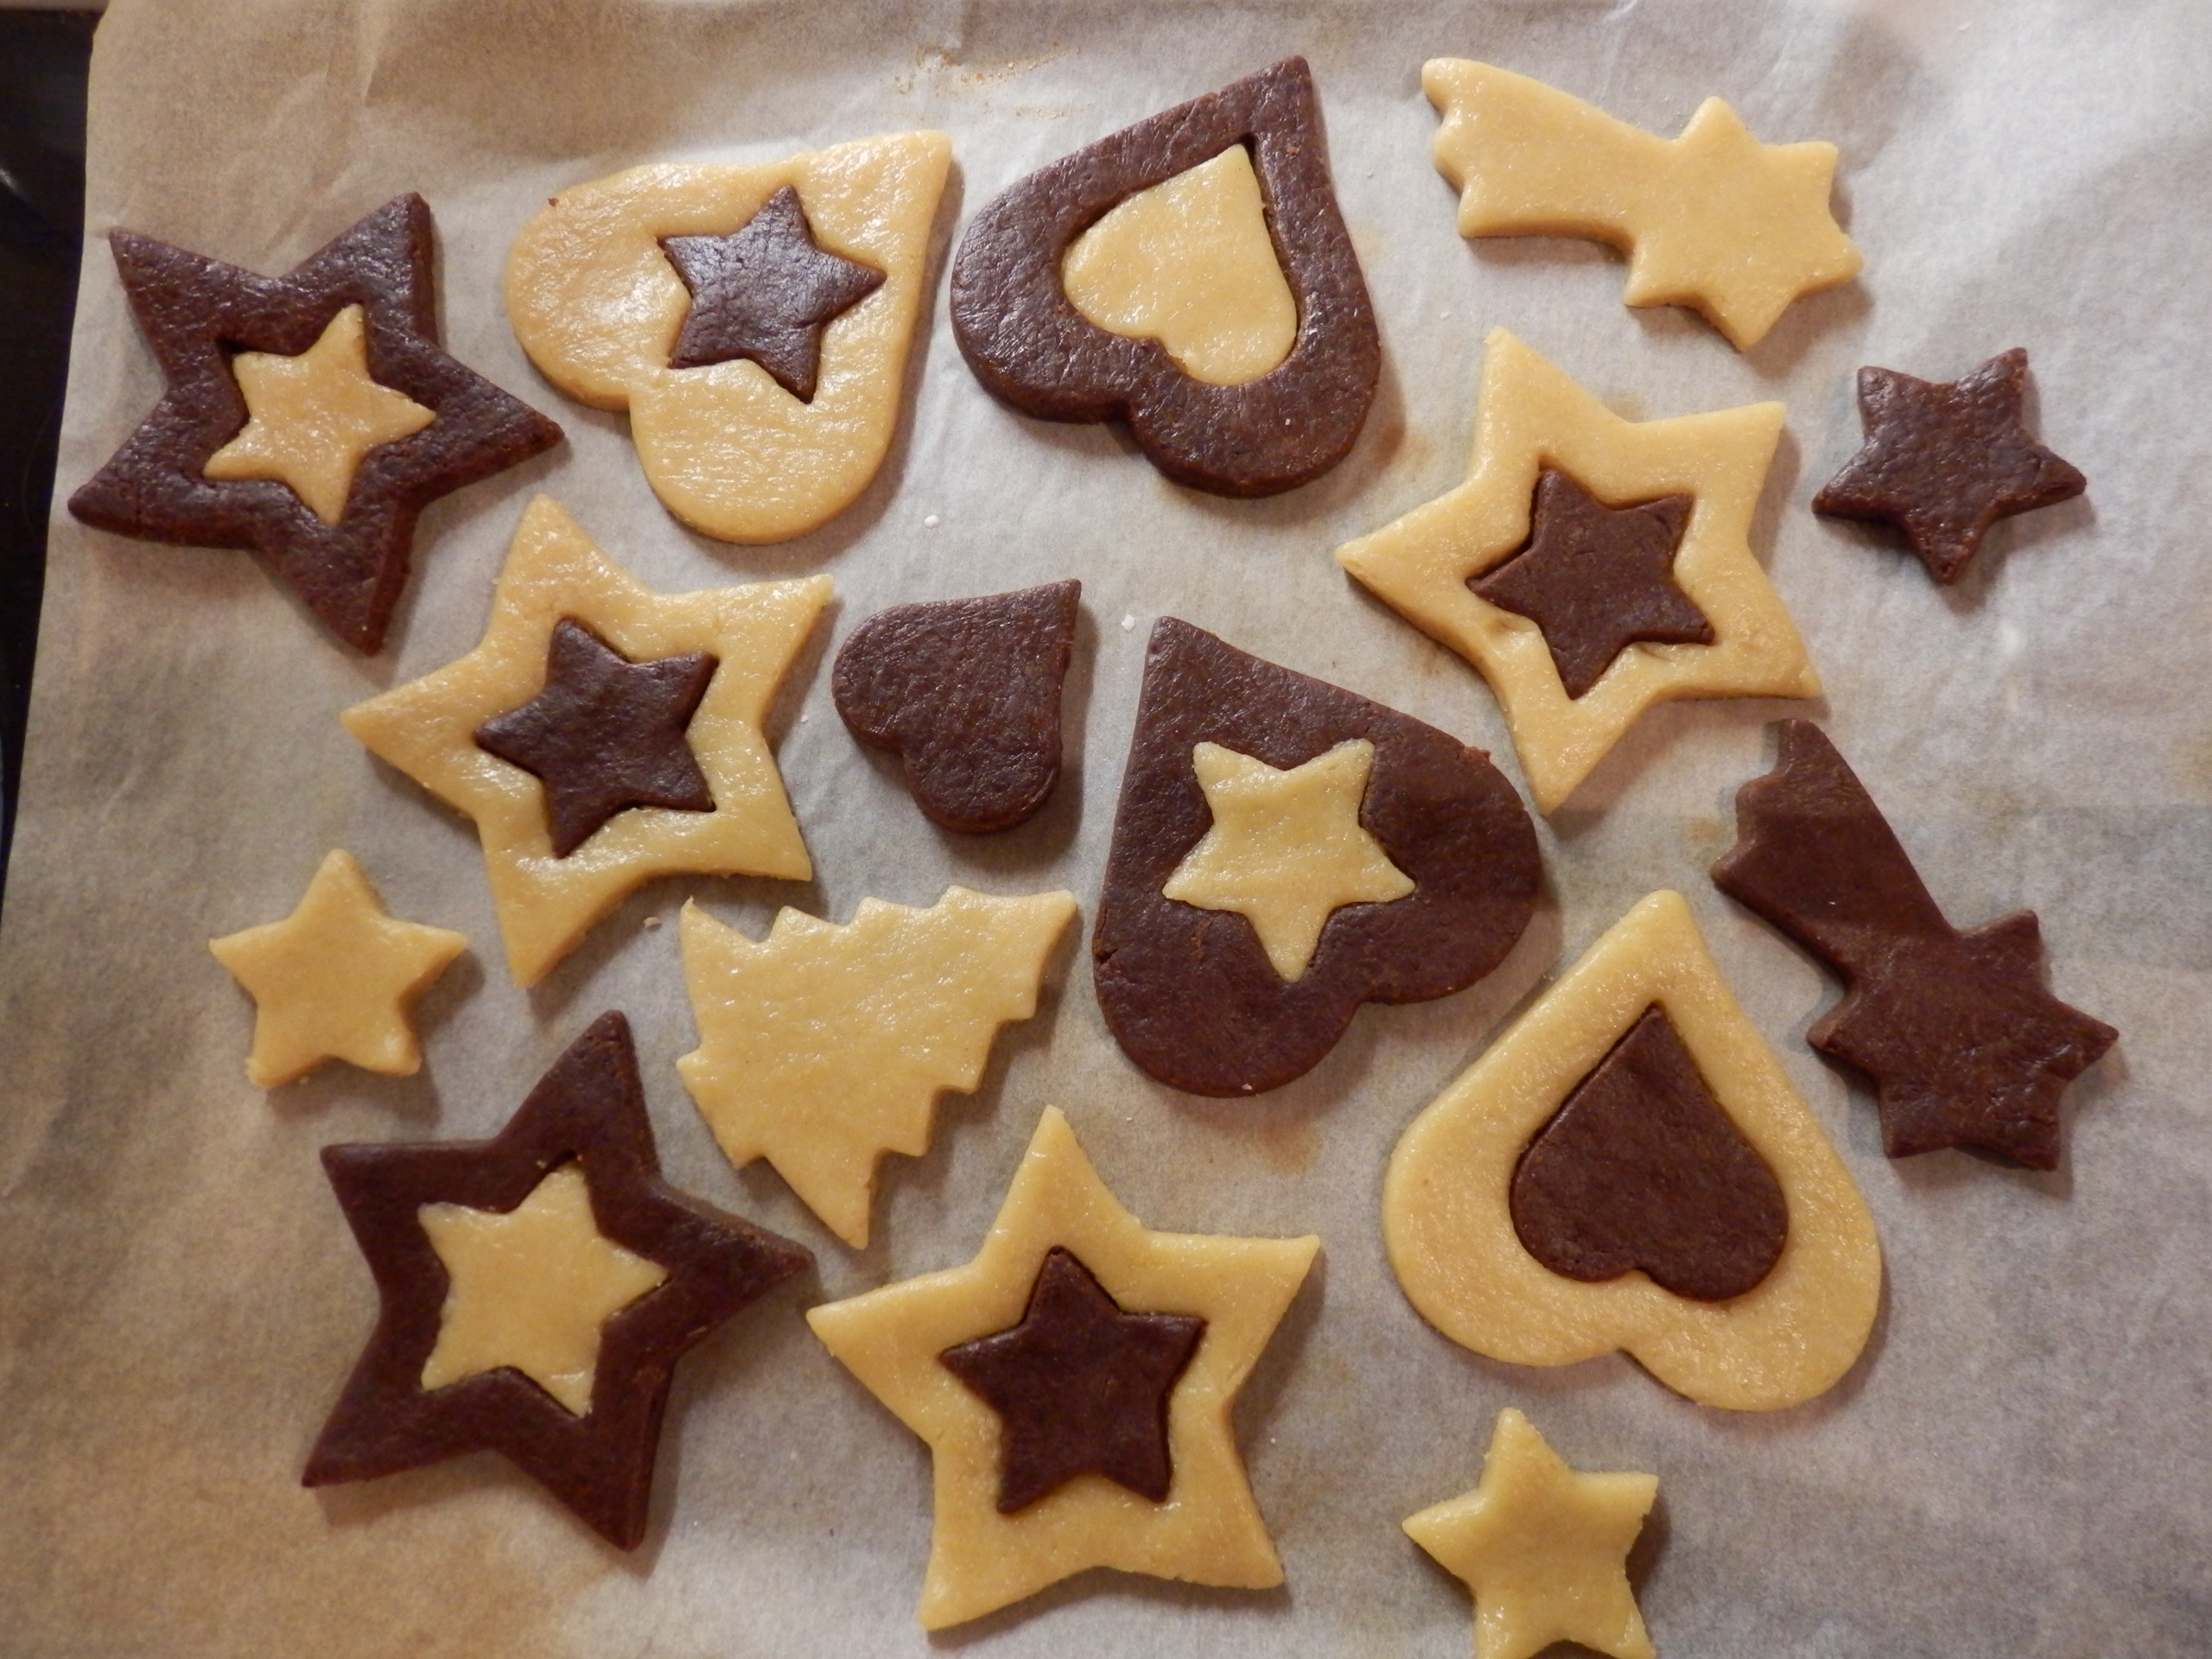
You can make these like I did in the picture, using different cookie cutters to play with the shapes and by adding cocoa powder to half of the dough.
(I prefer to make two separate batches because then the cocoa can be added at the start, which makes it far easier to knead. If you add cocoa powder, use enough to make the dough dark ‘all over’ – i.e. also ‘inside’, so to speak, if you tear a bit off to check – and add 1-2 lidfulls of milk. It shouldn’t be sticking to your hands, but it gets too dry if you don’t add that. Vanilla essence also works.) I also often cut out circles using a glass and cut out a small star or heart and swap the colours around. It’s not as fiddly if I’m in a hurry and still looks nice 🙂 . Another option, either as well as or instead of using cocoa powder, is to ice the biscuits (using 200g Icing Sugar and 1 beaten Egg White mixed together). That way you can add food colouring or sprinkles and write on the biscuits too.
Ingredients for 1 batch:
250g flour
100g Sugar
100g Butter/(Baking) Margarine* 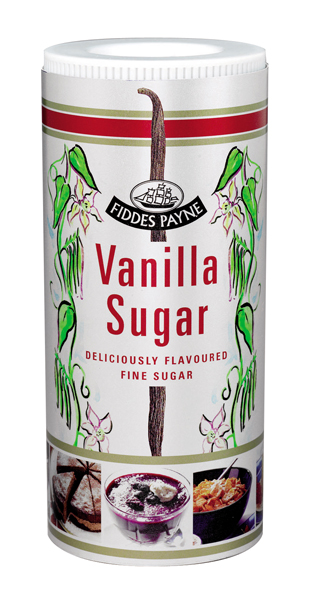
1 Egg
1 Sachet/8g Vanilla Sugar. In Germany and on the internet this can be bought from Dr Oetker in sachets, otherwise ‘Fiddes & Payne‘ sell it in a shaker in bigger Morrisons, Tescos etc. [This also tastes amazing on Cinnamon Toast. Just sayin’)
*= important as you have to knead the dough and it would get too sticky otherwise
1. Mix all the ingredients (I tend to just shove it all in a bowl, but butter and sugar first, then add egg and flour I guess) and knead into dough. Not so sticky that it won’t come off your hands, but not too dry either!
2. Refrigerate for 30 minutes.
3. Roll out 0.5cm thick. Top tip I learned recently, which has made this whole thing so much easier: before rolling it out, either place the dough in a large freezer bag with the sides cut off, or if you’re like me and only own tiny ones, improvise and use cling film (top and bottom. This doesn’t last as long but works fine. Then roll away and simply fold over/peel off the top layer of bag or clingfilm. Keep it at the side though, because you’ll need it again to re-roll out the leftover dough!
4. My favourite part – cutting out the biscuits! I spent ages searching for cookie cutters, and eventually found some great ones in TK Maxx (like these). Not long after that Aldi also had some. As I said, you can cut out e.g. big stars with a small different coloured one in the middle, or use other cutters for the centre, or use a glass to cut out round shapes and put a different shape in the middle.
Colder hands are best for this, and place the dough back in the fridge or even freezer if it gets too sticky and melted. (Don’t forget about it though, that makes rolling it out again a tad trickier….)
5. Bake for 10 Minutes at 200° c. I sometimes still struggle with this (personally I blame the oven :P) but they should be a tiny bit soft when you take them out, as they harden once they cool, and not white but a sort of yellow/golden colour. Brown/burnt looking is also not so good. And do not use a pizza tray with holes/thick cake tin base if you run out of trays, because they both have the effect of burning the biscuits from underneath, as I discovered! And baking paper is your friend. You can put it on a plate and place the cut out biscuits on it if you have more in the oven, then quickly transfer them onto the tray.
I think that’s everything! Store in an airtight container, unless you baked them too long, in which case store with a piece of apple to rehumidify.
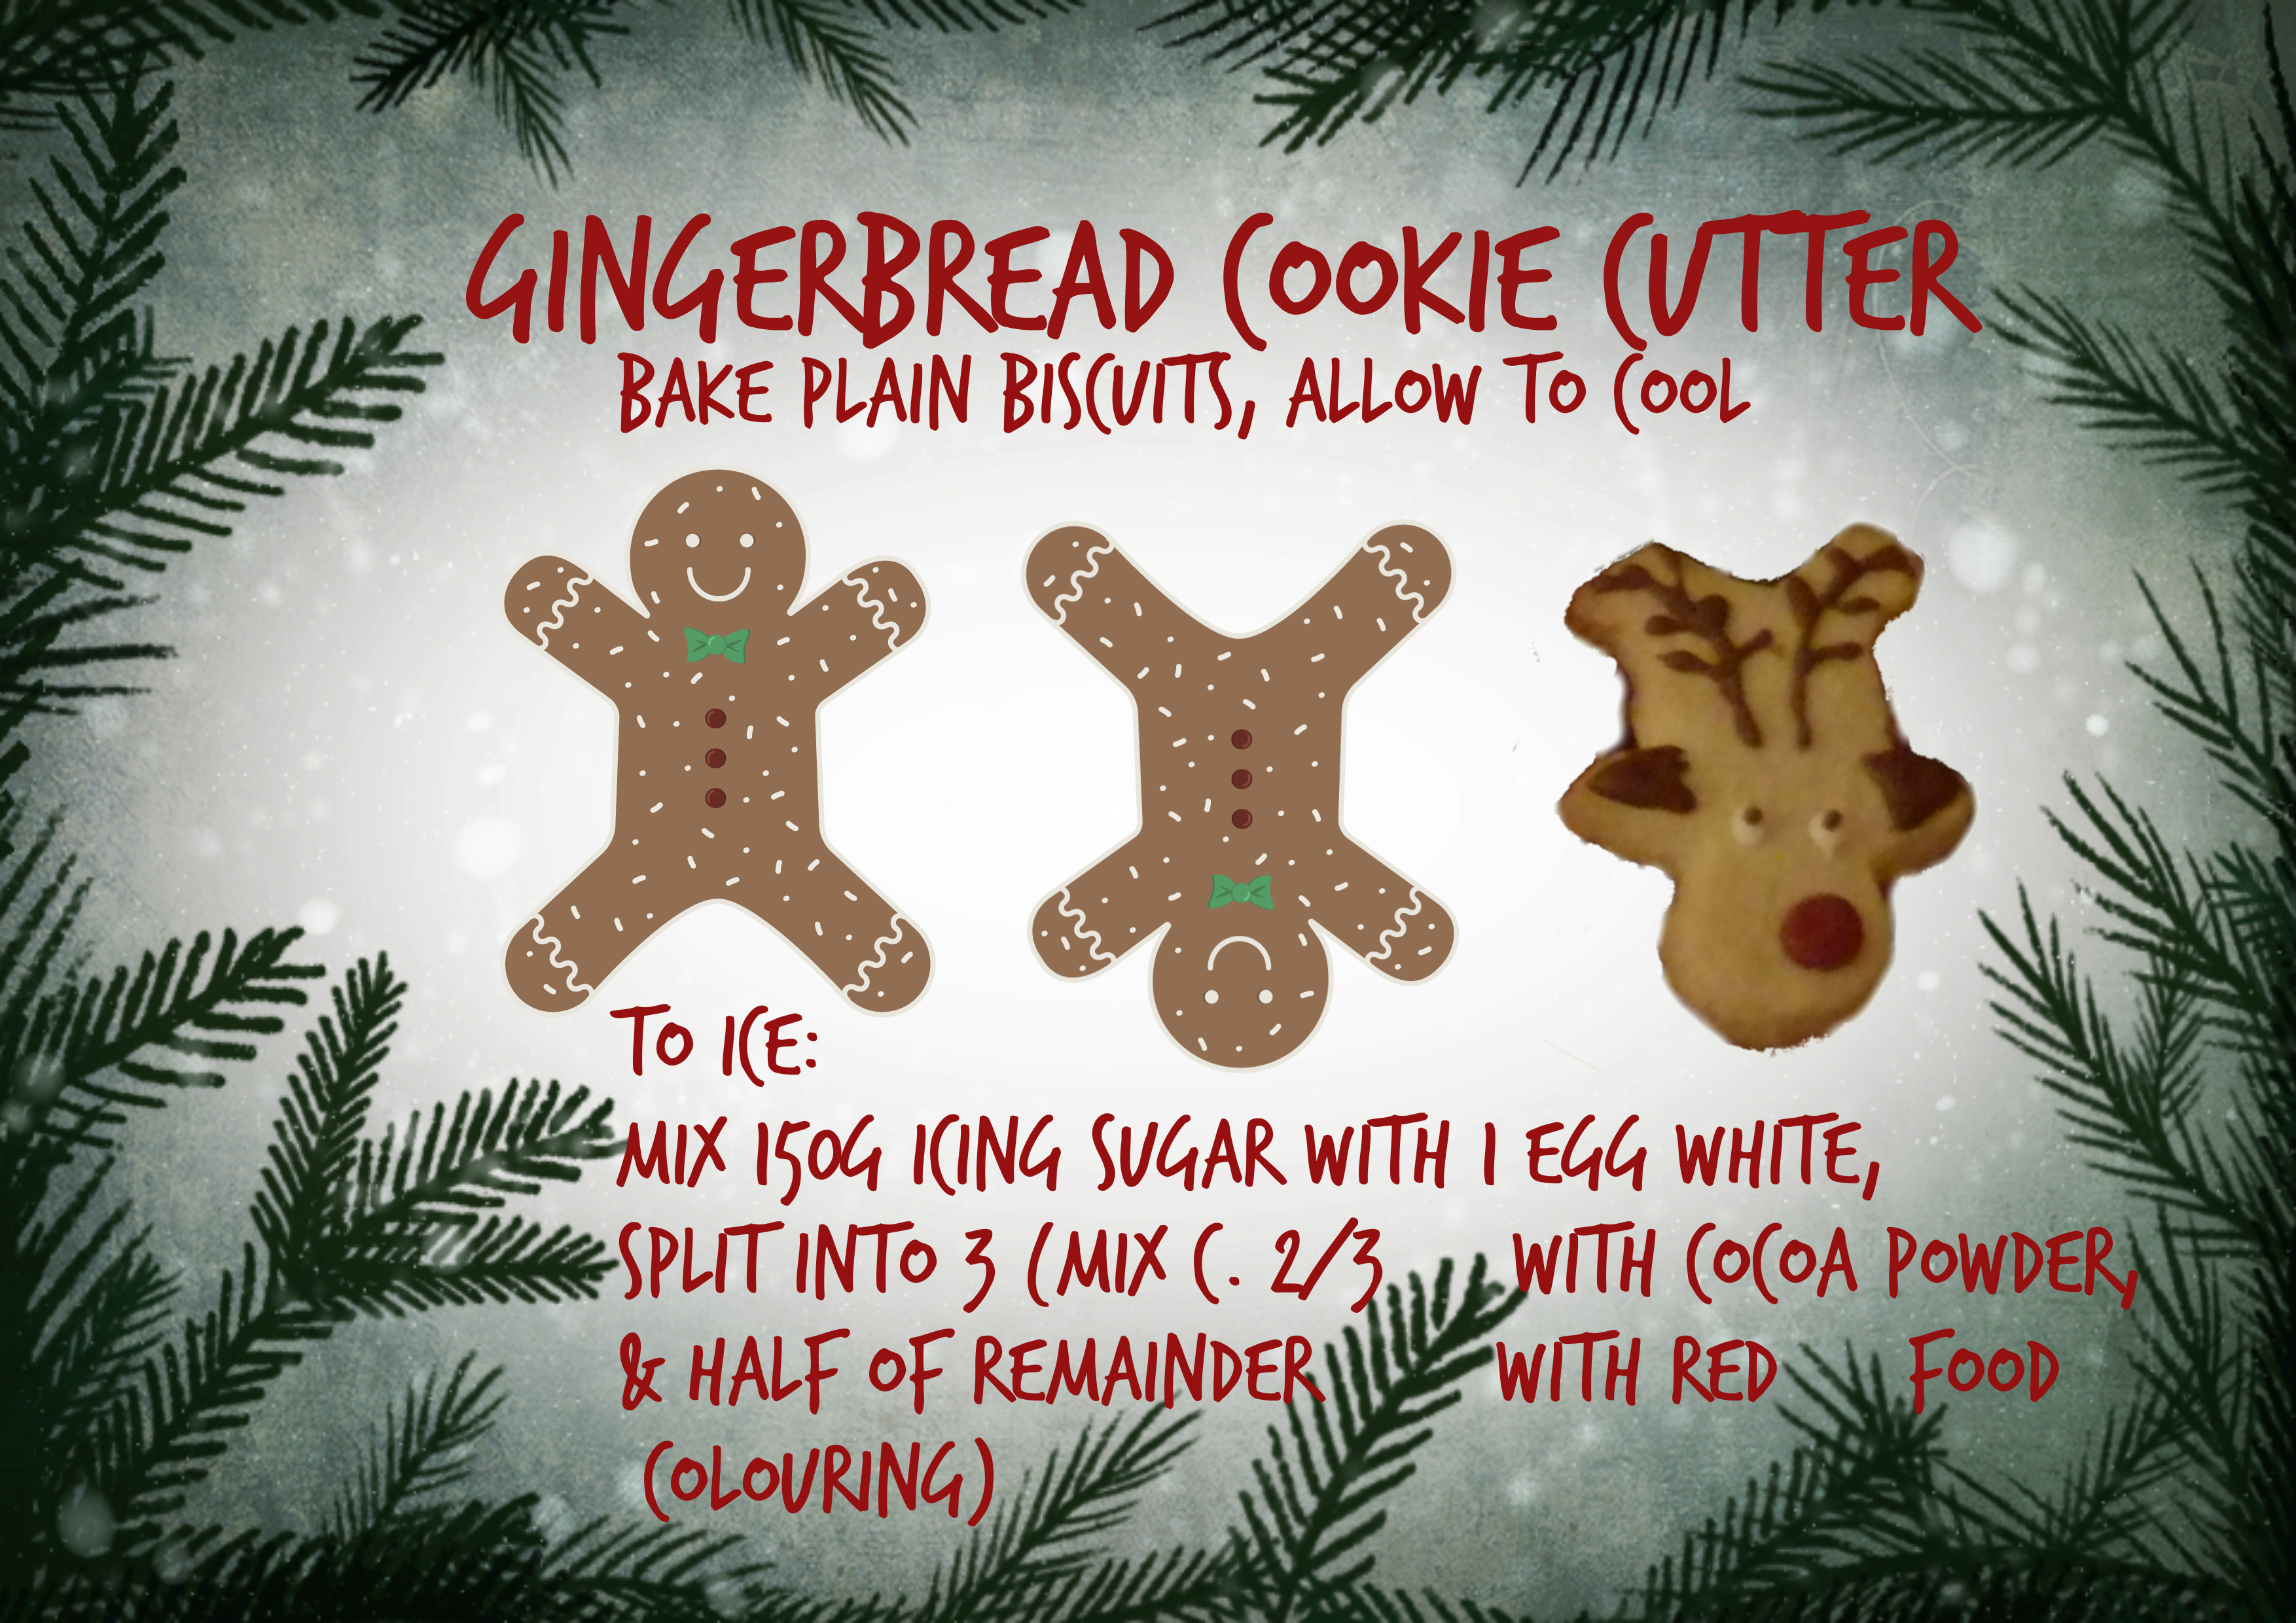
Update – How to make Reindeer Biscuits
Prepare the dough (without cocoa powder) as usual, but use a gingerbread man cutter. Allow to cool, then make icing using:
150g icing sugar (sieved)
1 egg white (beaten)
Red food colouring
Cocoa powder
Set aside a small amount of the icing (ca. 2tbsp should be more than enough) to dye red with food colouring for the noses, then set aside the same again to keep white for the eyes. Add cocoa powder to the rest for the antlers and ears.
I actually used toothpicks/cocktails ticks for this as it’s a bit fiddly, but if you are an expert at wielding icing bags (and maybe just generally if you have proper ones, since I was using greaseproof paper ones!) then using those with a very small nozzle should also work and will most likely be far quicker. I plan to try this out soon, but at the time I was improvising. All you need to do is ice on antlers (do these like you would draw tree branches, a.k.a. draw a long line upwards and then add the smaller sections afterwards), ears ( a sideways ‘v’ or ‘u’ shape) in brown, add the eyes in white and dot on a brown pupil on each, and, the finishing touch – a red nose! 🙂 (Slightly off-centre is cutest, and slightly exaggerated in size.)
As you can see from the pictures below, I also experimented a bit with a ‘full colour’ brown reindeer (with white antlers) and a snowman. I decided to go with the reindeer shown in the instructions because I think they look cuter, plus they take less icing and therefore less time to make and ‘dry’. The snowman is quite sweet but again more time consuming – I was making these as gifts – in cellophane bags to show them off – so I added a few snowmen and dar reindeer for variety, but kept them mainly ‘plain’.
I’m hoping to branch out even more this year with different colours of icing for the other shapes of biscuit (e.g. Christmas trees and stars), depending on what food colouring I can find. You could also try using ready-made icing in tubes (I might do that for the yellow!), but if you plan to use large quantities then you’d be better off making it yourself. Another thing that’s on my ‘to try’ list is ‘stained glass window’ biscuits using bonbons/boiled sweets. Keep an eye out for more updates in the future!